Purpose:
This post shows the procedures to update the Accton-BMC via the web.
Model:
AS5916-54XKS, AS5916-54XL
Preparation:
A. Personal computer
B. BMC_Updater
Download the BMC-updater image for your own device.
C. Serial Console cable:
A cable which attached in the original box.
D. Console terminal
Putty,Teraterm,SecureCRT,etc...
E. Web browser
Chrome, Opera, etc..
Procedure:
STEP1. Plugin the ethernet cable to the MGMT on the front panel of switch. (e.g., AS5916-54XL)
![]()
STEP2. Plugin the console cable into console port on the front panel of switch. (e.g., AS5916-54XL)
![]()
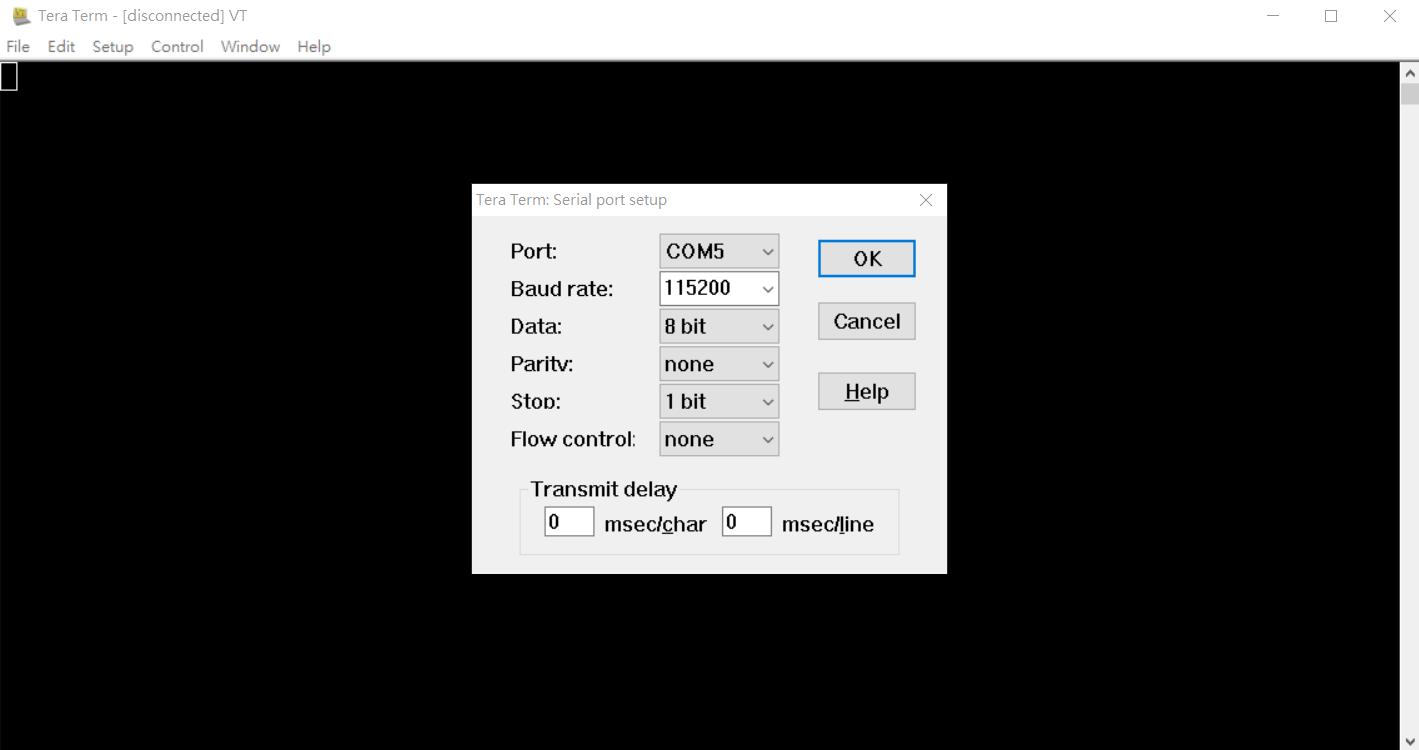
STEP3. Open the terminal. (e.g., Teraterm)
Note: Please set the baud rate as 115200

STEP4. Reboot the data center and enter the "Onie: Rescue " mode.

STEP5. There are two flashes in BMC, one flash01, another flash02. If we want to update the BMC firmware, please update twice. The following command shows the flash which you select. (e.g., 01, at the flash 01)
ONIE:/ # ipmitool raw 0x34 0x96

STEP6. Set the BMC IP mode, IP address, Netmask and gateway.
ONIE:/ # ipmitool lan set 1 ipsrc static
ONIE:/ # ipmitool lan set 1 ipaddr 192.168.0.100
ONIE:/ # ipmitool lan set 1 netmask 255.255.255.0
ONIE:/ # ipmitool lan set 1 defgw ipaddr 192.168.0.254

STEP7. Check the current status of BMC IP.
ONIE:/ # ipmitool lan print

STEP8. Open a web browser to login into the BMC web interface. (e.g., Chrome, URL: https://192.168.0.100/)

Note: Please allow going on the web page manually, because the web browser will determine that it is not secure.
STEP9. Enter the "Username" and "Password" then click "OK".
Username: ADMIN
Password: ADMIN

STEP10. The "Properties" page is displayed the current version of BMC, it showed hexadecimal. (e.g., Firmware version: 00.4A)

STEP11. Click the "update" option and click “Choose File” then choose the firmware image file. (e.g., AS5916_54XL_BMC_v00_4Bh_firmimg_ast2400.bin)

STEP12. After seeing the firmware image file chosen, click “Upload” option.

STEP13. When prompted, click “OK” to start the upload.

STEP14. Please wait for the several minutes when showing upload is in progress.

STEP15. The web interface will show the current version and the new version when the update is completed.
Note: “Preserve Configuration” is enabled by default, please disable the “preserve configuration” when updating the firmware.

STEP16. After checking the version and uncheck the “Preserve Configuration” option, click "update" option below the button.

STEP17. When prompted, click “OK” to start the update.

STEP18. Wait for the update process until 100% completed.

STEP19. Reflash the BMC web interface again and check the firmware version.

STEP20. You could also use the "ipmitool mc info" command under the ONIE to check the current firmware version.
ONIE:/ # ipmitool mc info

STEP21. Now, the flash 01 has been updated, switch to flash 2.
ONIE:/ # ipmitool raw 0x34 0x98 //Switch the flash from 01 to 02

STEP22. After switching, need to reset the BMC. It takes about 2 minutes.
ONIE:/ # ipmitool mc reset cold

STEP23. Check the BMC flash again. (e.g., 02, at the flash 02)
ONIE:/ # ipmitool raw 0x34 0x96

STEP24. Please follow STEP6 to STEP20 again for the second flash. (e.g., The result of flash 02)

ONIE:/ # ipmitool mc info

Prev Page [ACCTON Diag.] How to install Accton-Diag on ARM platform switch via ONIE?
Next Page [BIOS]How to upgrade the BIOS via EFI shell on x86 platform switch?
