
Purpose:
This post shows the procedures to recover ONIE on x86 platform switch via PXE.
Model:
AS7312-54XS
AS7712-32X
Preparation:
A. Personal computer
B. RJ45 Ethernet cable
C. Serial Console cable:
A cable which attached in the original box.
D. TFTP and DHCP server
TFTP with DHCP option 66,67
E. PXE compressed file:
Download the PXE compressed file for your own device.
F. ONIE-updater
Download the ONIE-updater image for your own device.
G. A console terminal
Putty,Teraterm,SecureCRT,etc...
Procedure:
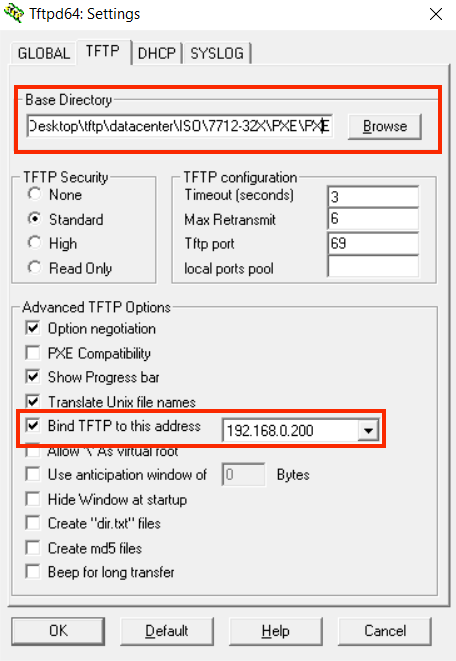
STEP1. Enable the DCHP server and TFTP server (E.g., tftp64.exe)
1. Put the PXE file and ONIE-updater image in the TFTP Current Directory. 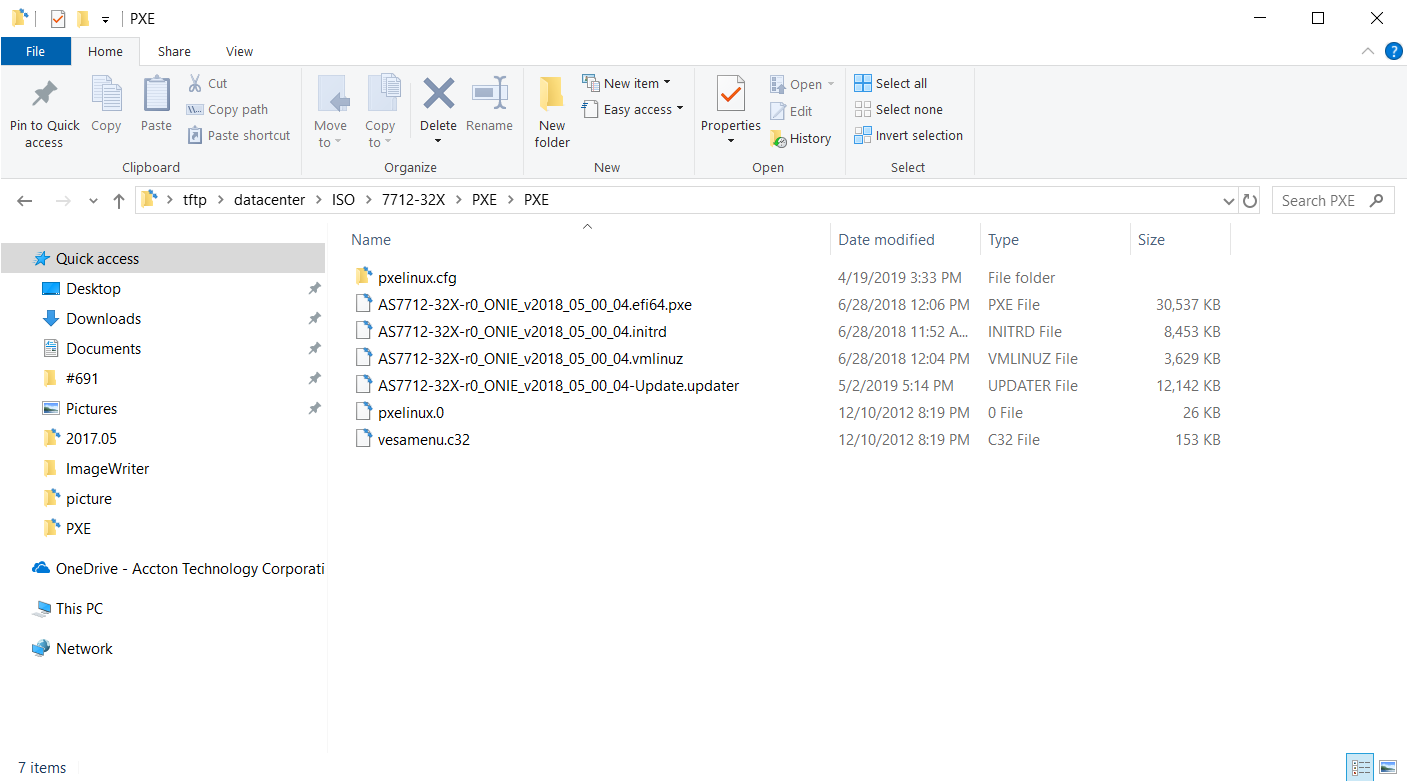
2. Rename the updater to "onie-updater-x86_64-accton_[Model_name]-r0.bin"
(e.g., onie-updater-x86_64-accton_as7712_32x-r0.bin)
Note: The reason will be mentioned later.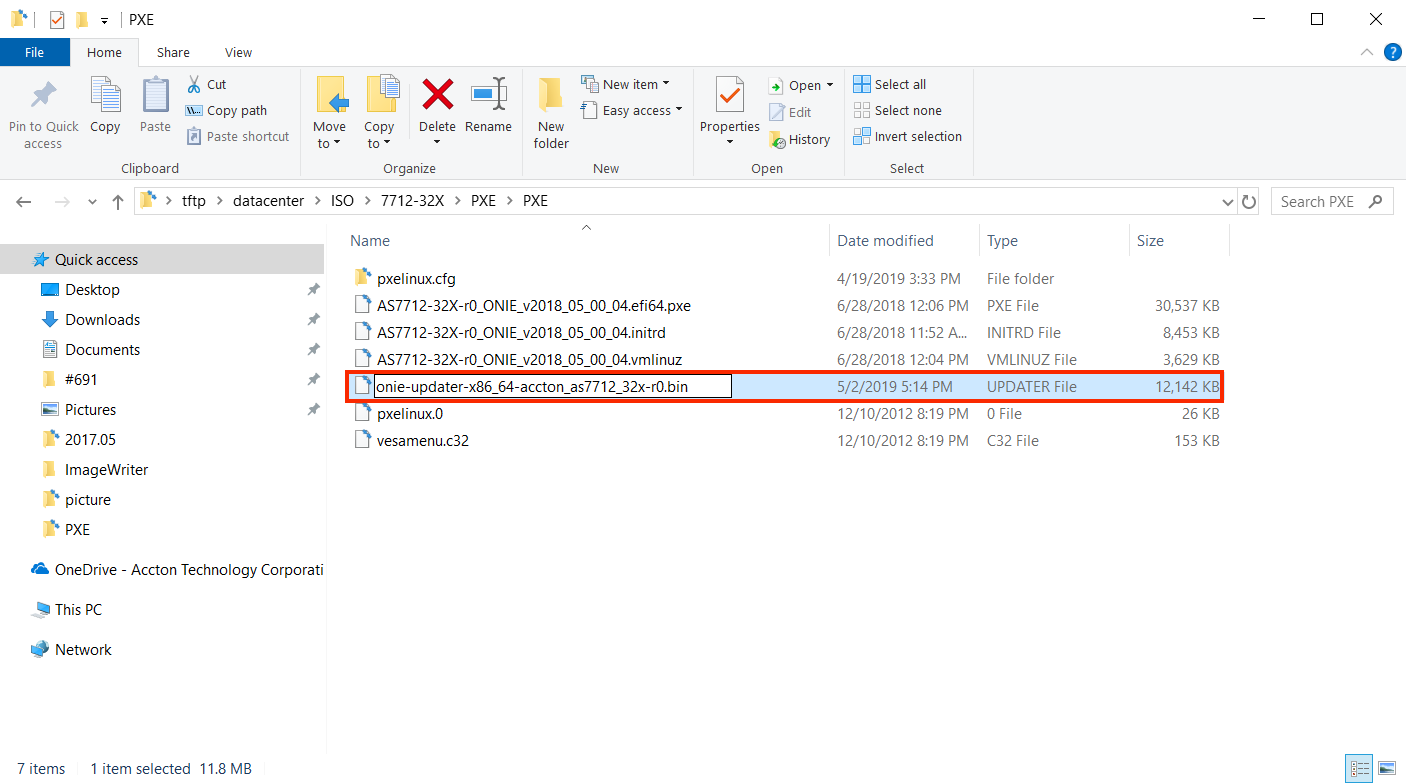
3. Double click into "pxelinux.cfg" file folder and open "default" file by the editor. (e.g., Notepad++), make sure the file name with the red mark is the same as the following picture. 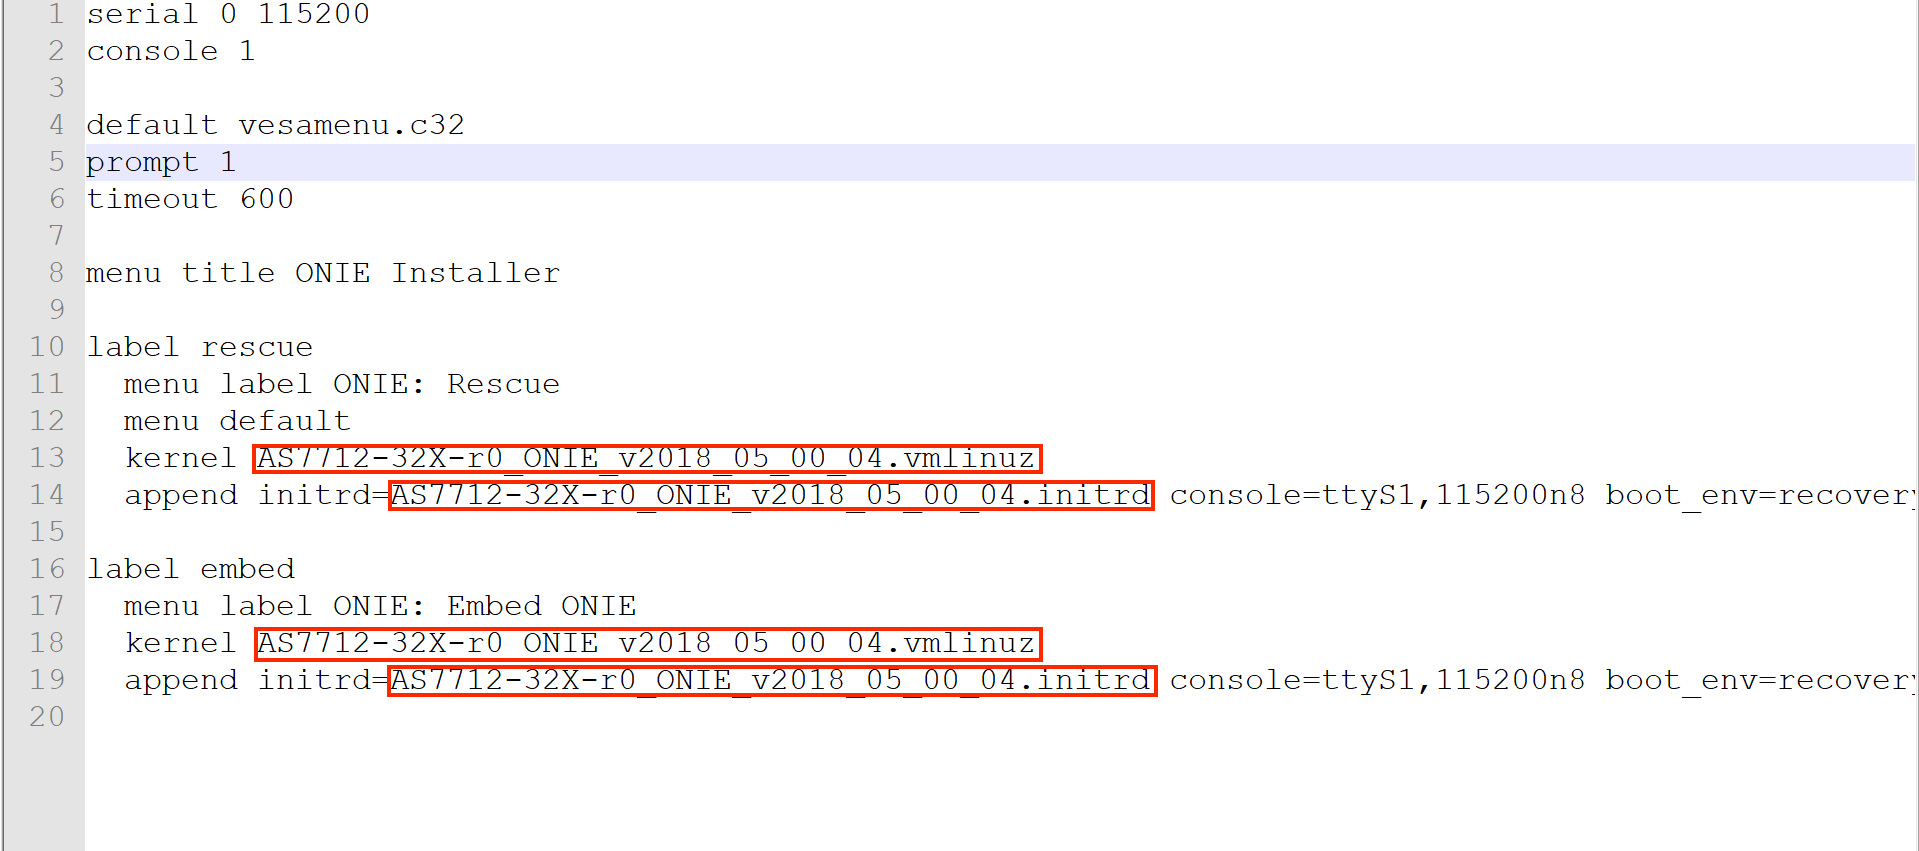
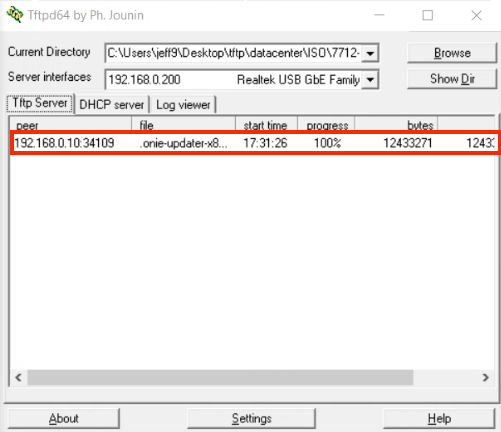
4. Double click the application (e.g., tftp64.exe)
5. Select the Current Directory and the ethernet interface. 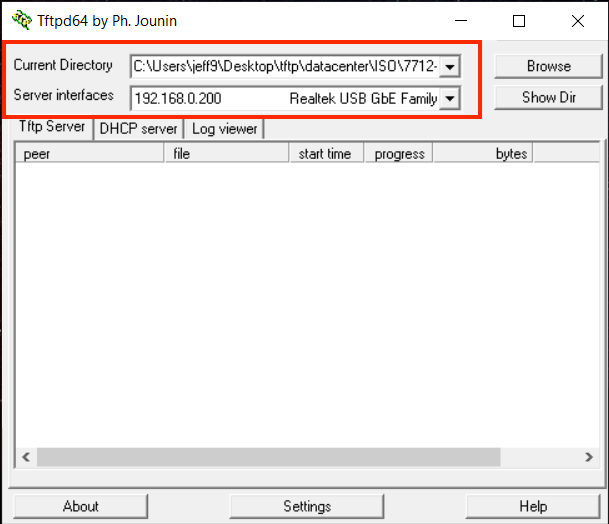
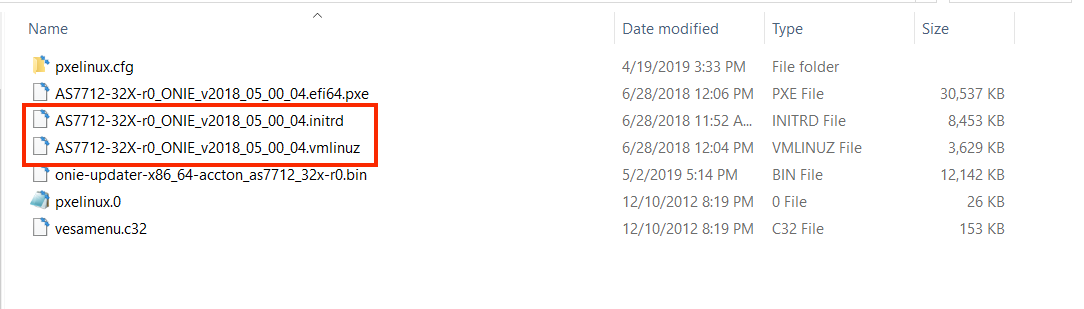
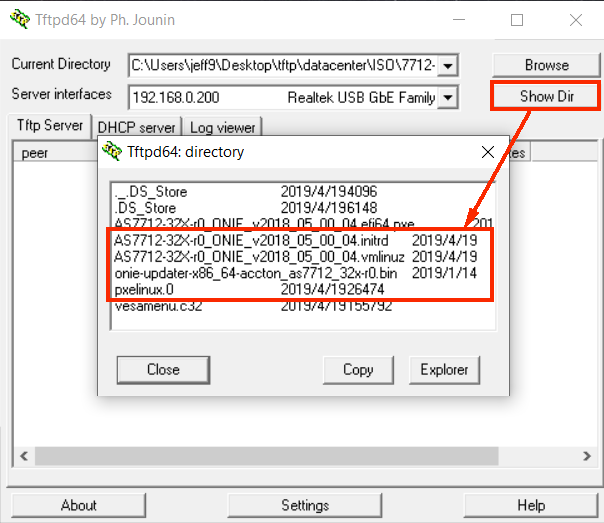
6. Make sure the Current Directory have the following files.
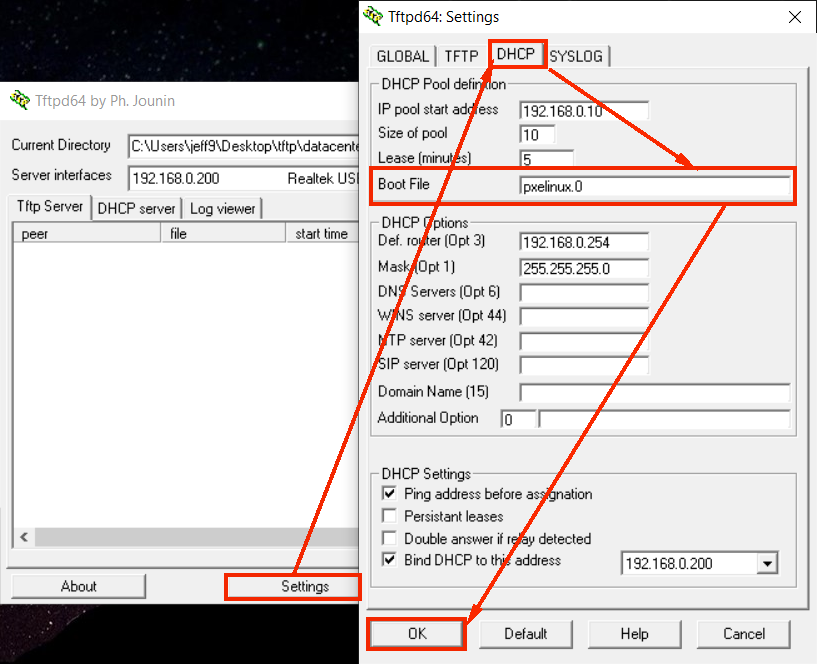
7. Set the Boot file as "pxelinux.0".
8. Please make sure the TFTP and DHCP server functions are normal.
TFTP: Correct position and the ethernet interface.
DCHP: IP pool, gateway, netmask, and correct ethernet interface. 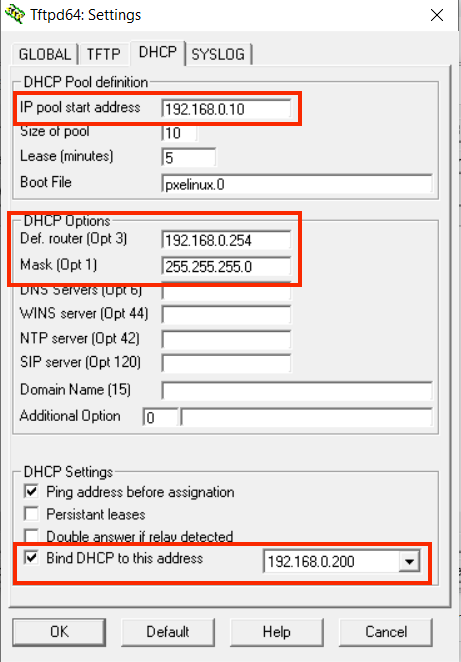
STEP2. Plugin the ethernet cable to the MGMT on the front panel of switch. (e.g., AS7712-32x)

STEP3. Plugin the console cable into console port on the front panel of switch. (e.g., AS7712-32x)

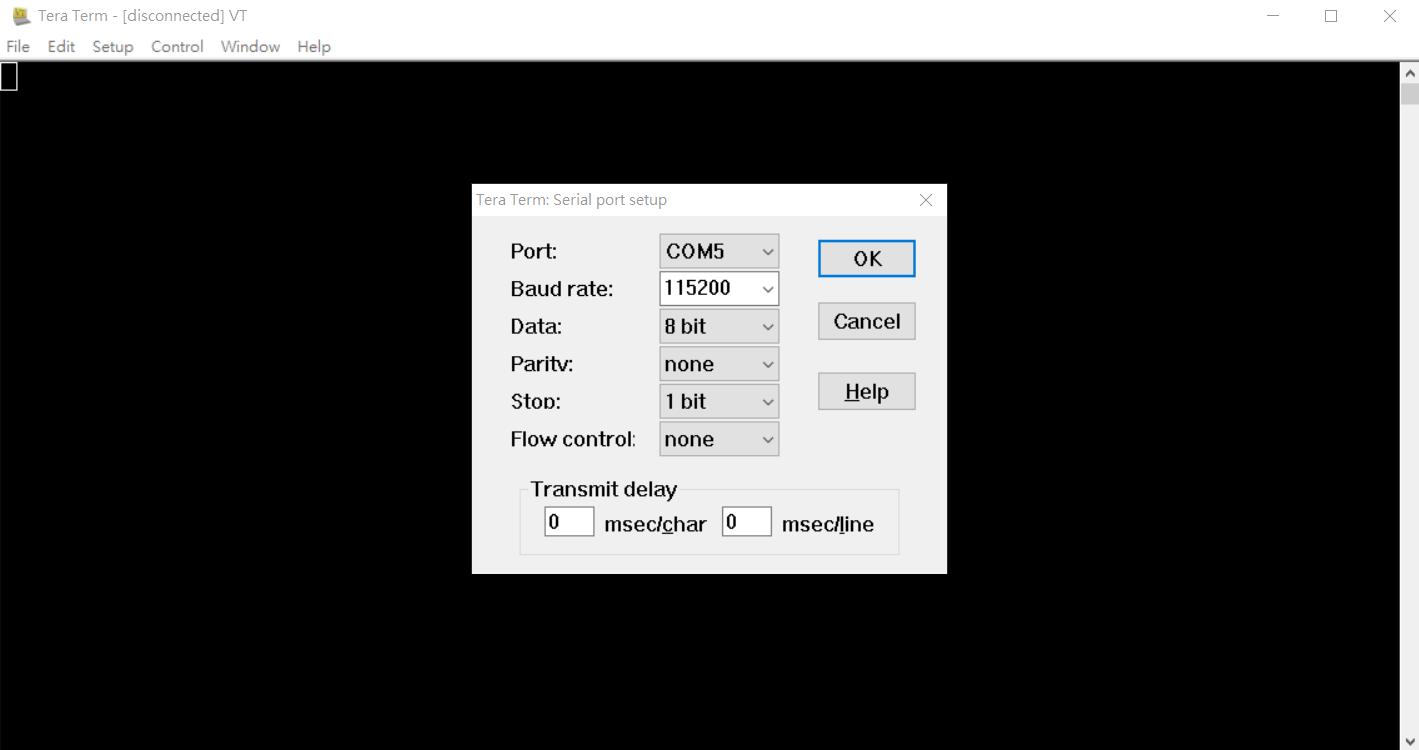
STEP4. Open the terminal. (e.g., Teraterm)
Note: Please set the baud rate as 115200
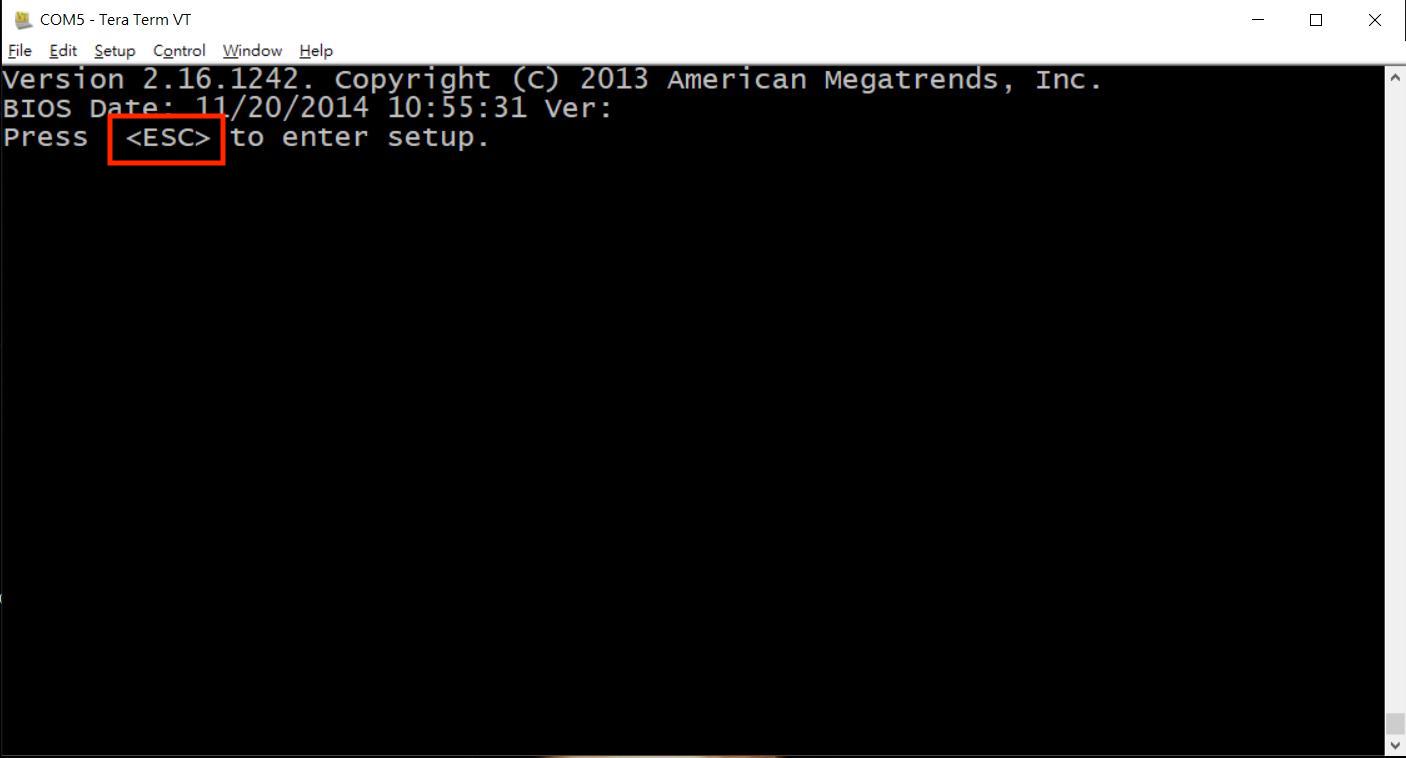
STEP5. Power on the data center switch, wait for a few seconds and press "ESC" to enter the BIOS setup.
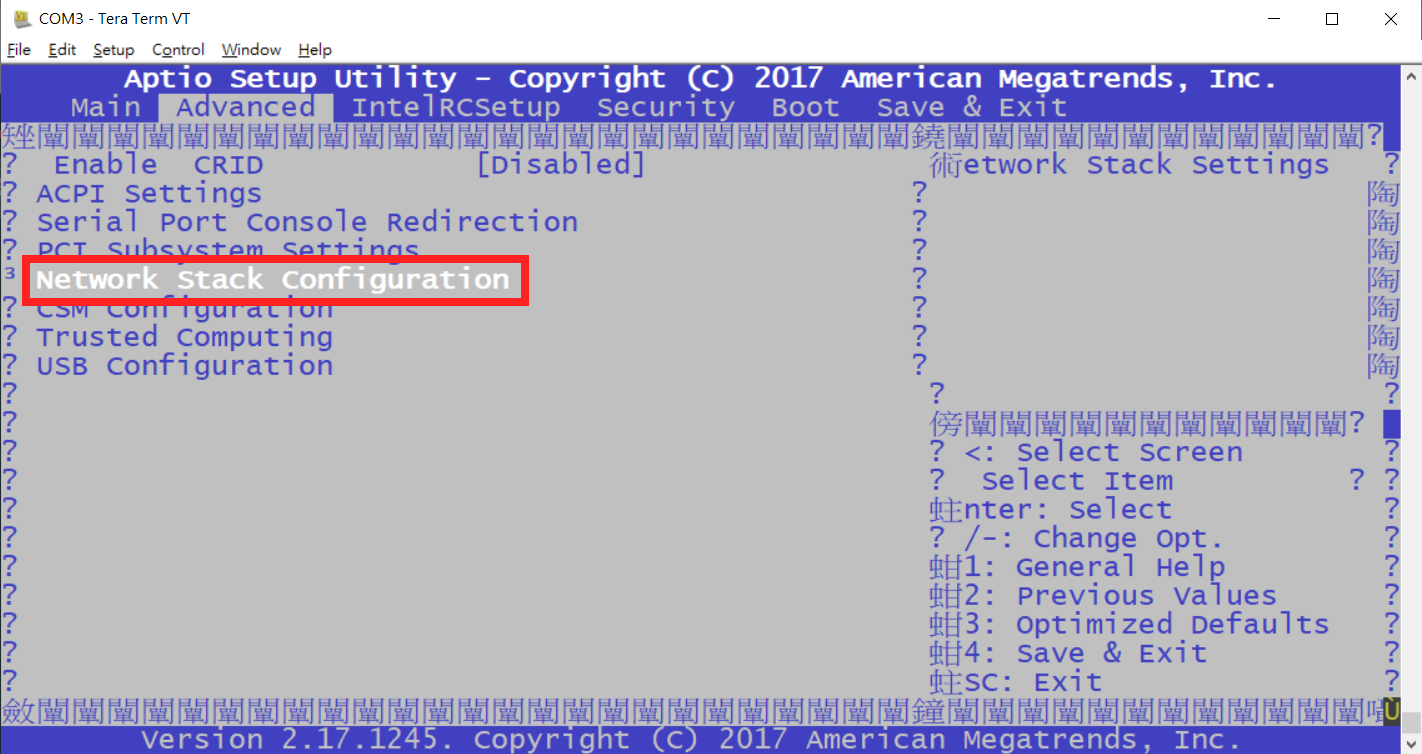
STEP6. Go to the "Advanced" section and select the "Network Stack Configuration"
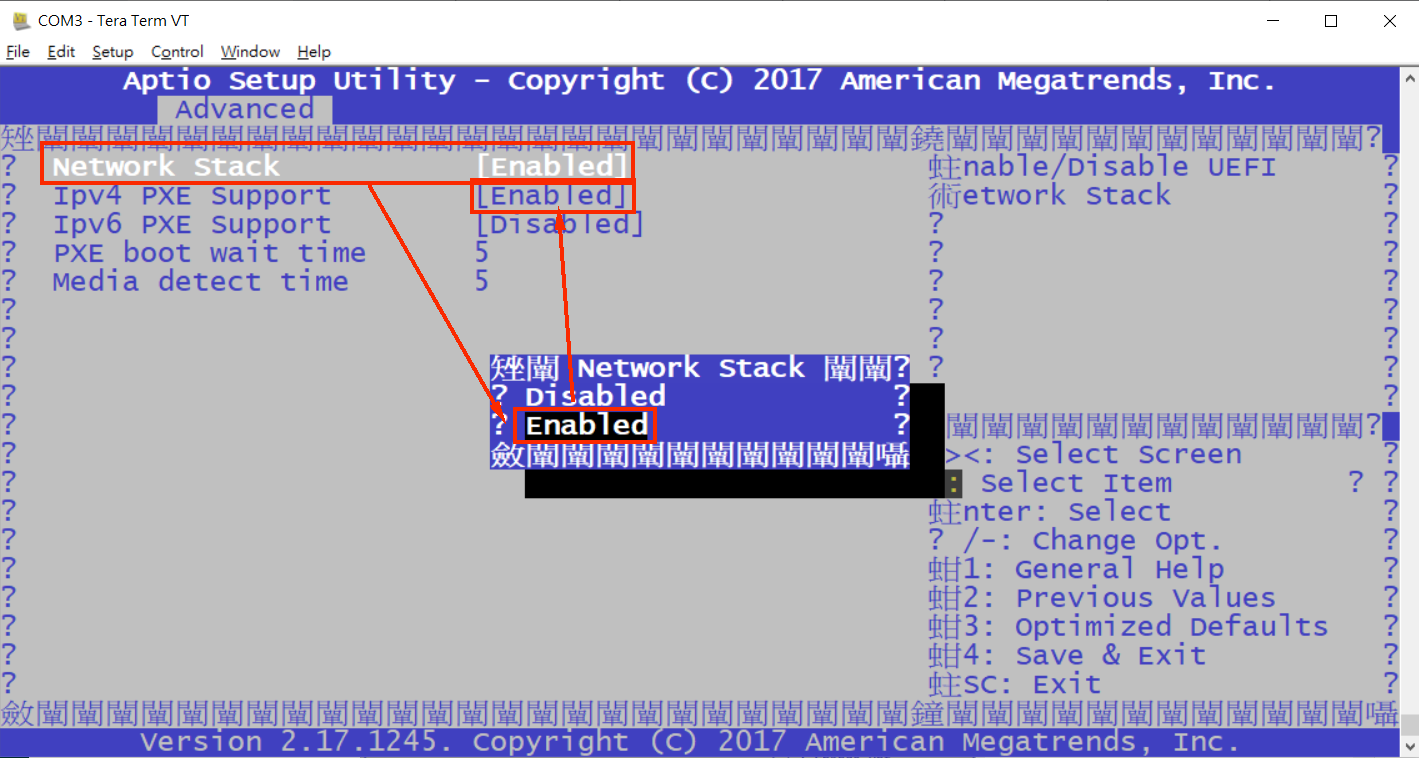
STEP7. Select "Network stack" to enable and then pick a protocol you need to enable. (e.g., Ipv4 PXE Support)
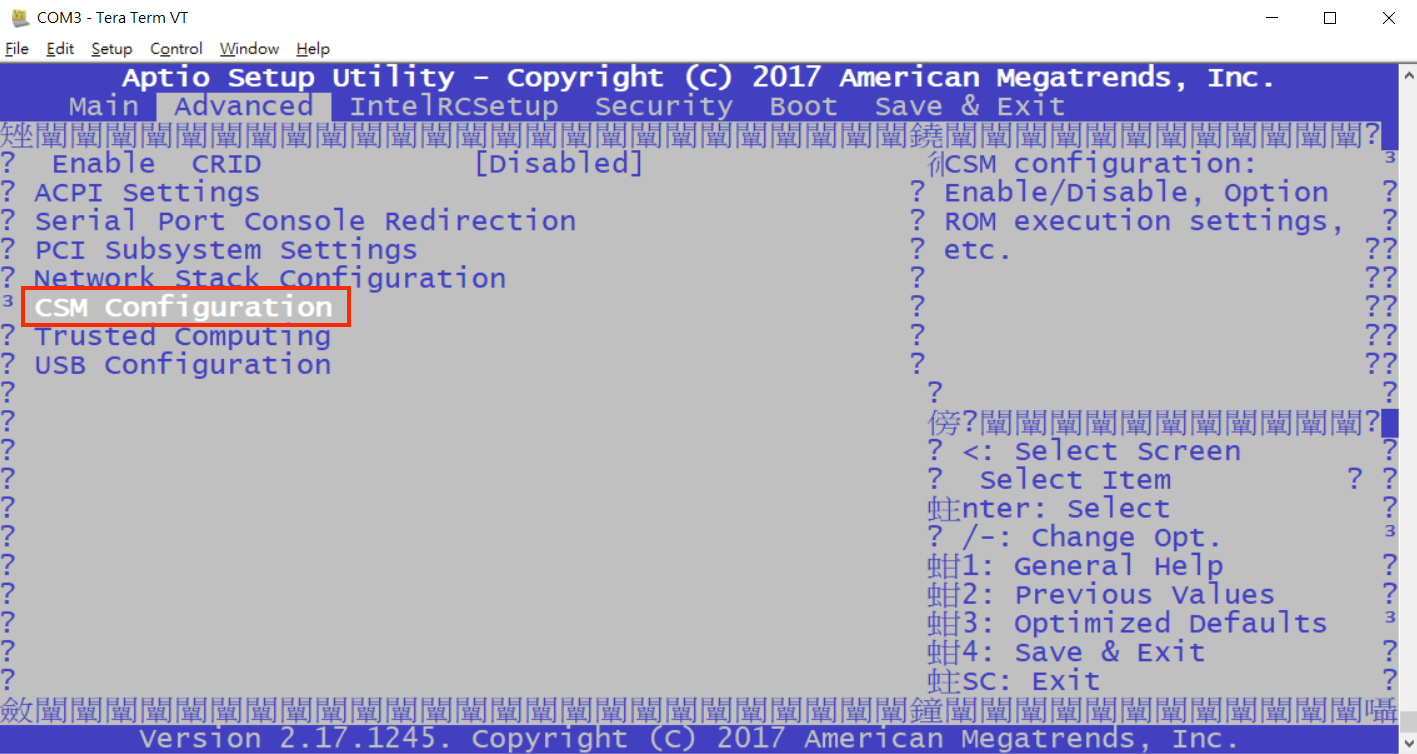
STEP8. With the same section and select "CSM configuration".
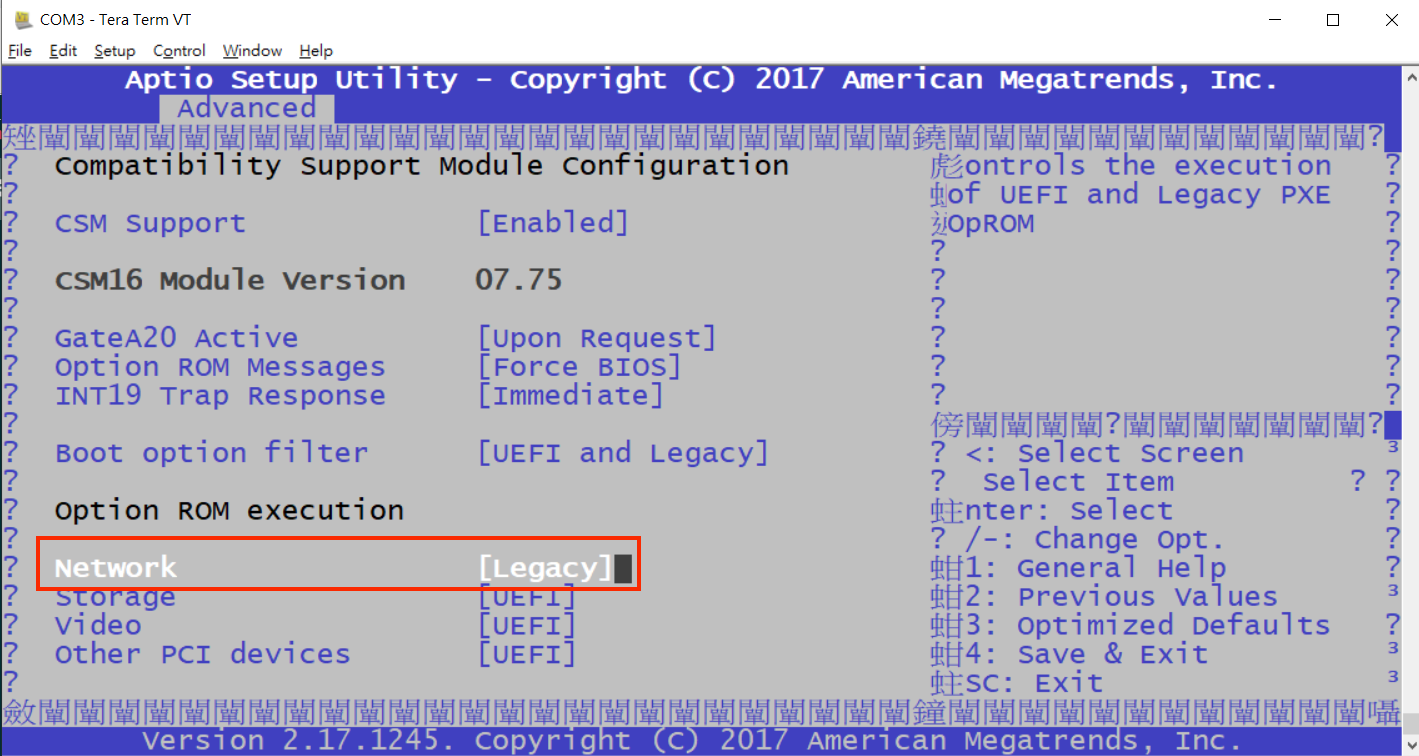
STEP9. Select the "Network" to Legacy.
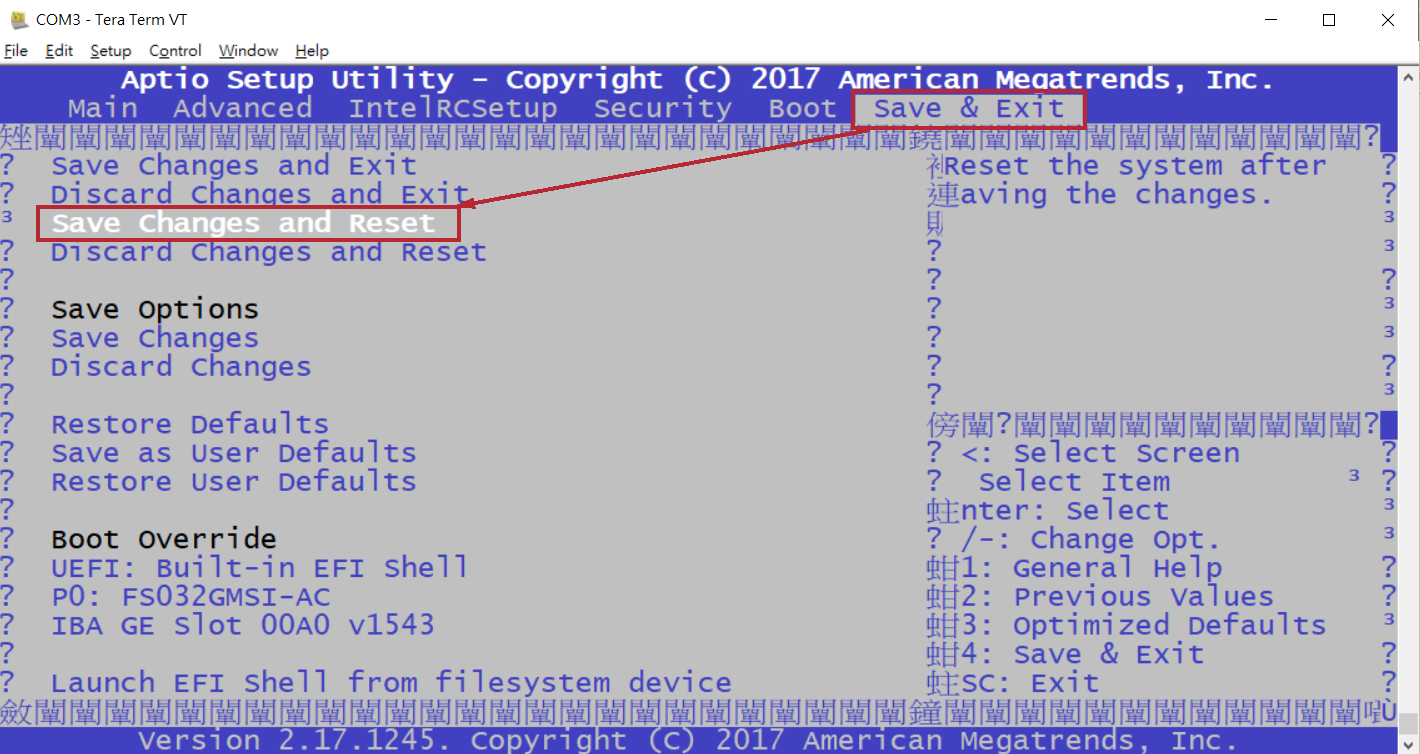
STEP10. Select the "Save & Exit" section and then click "Save Changes and Reset" to reboot the switch.
STEP11. Please follow the STEP5 to go into BIOS again.
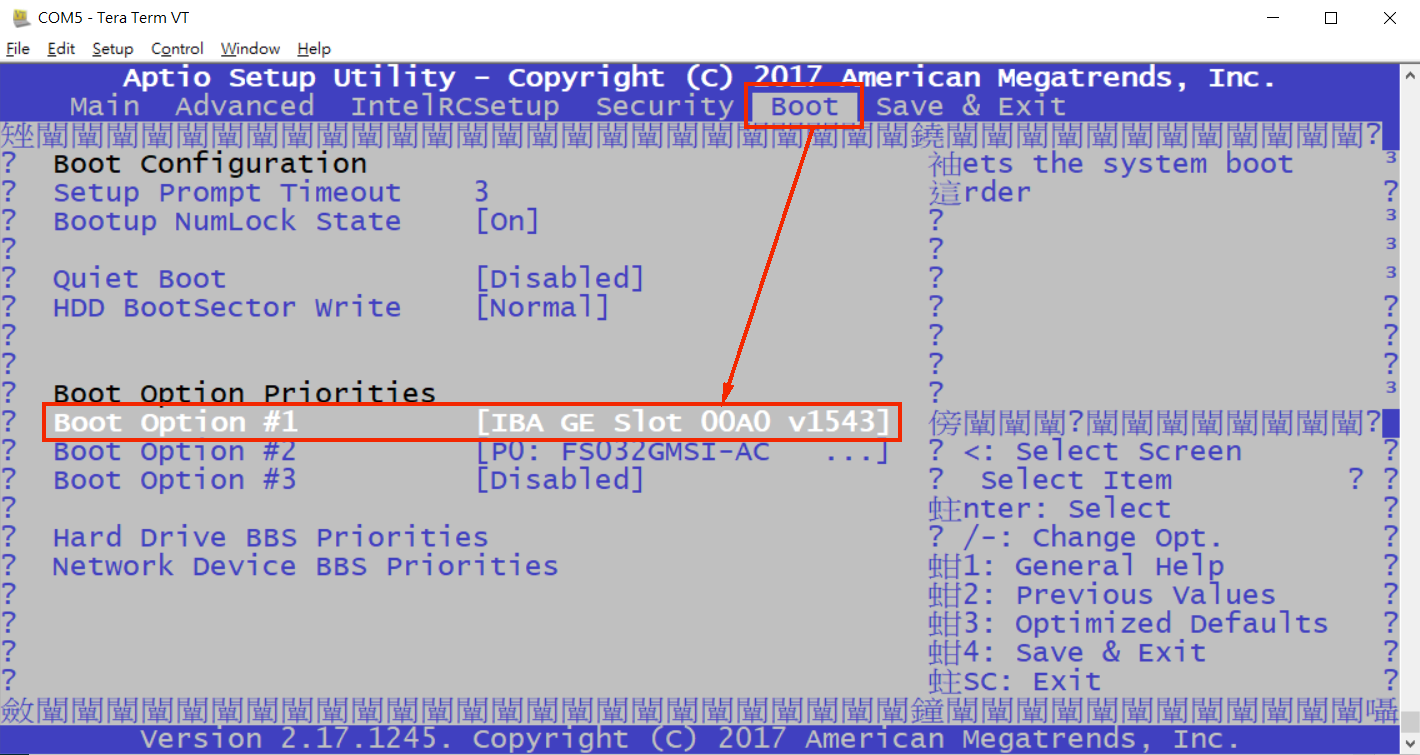
STEP12. Select "Boot" section and change the "IBA GE slot 00A0 v1543" as "boot option #1".
STEP13. Please follow STEP10 again.
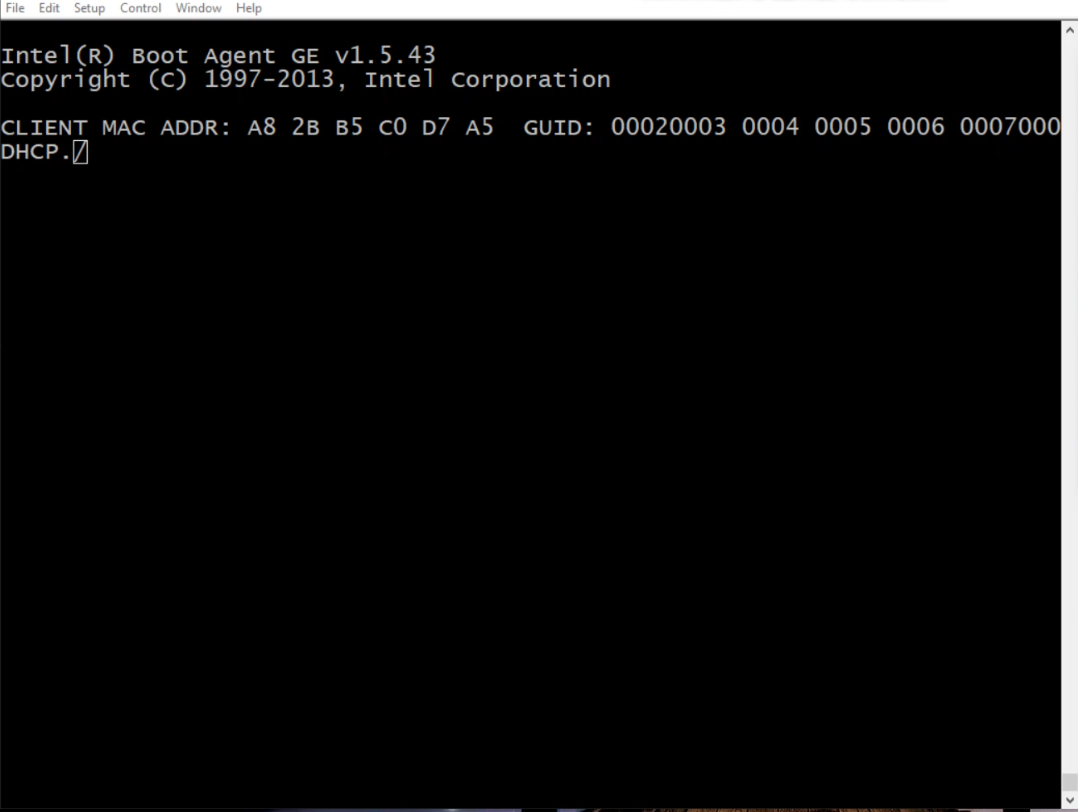
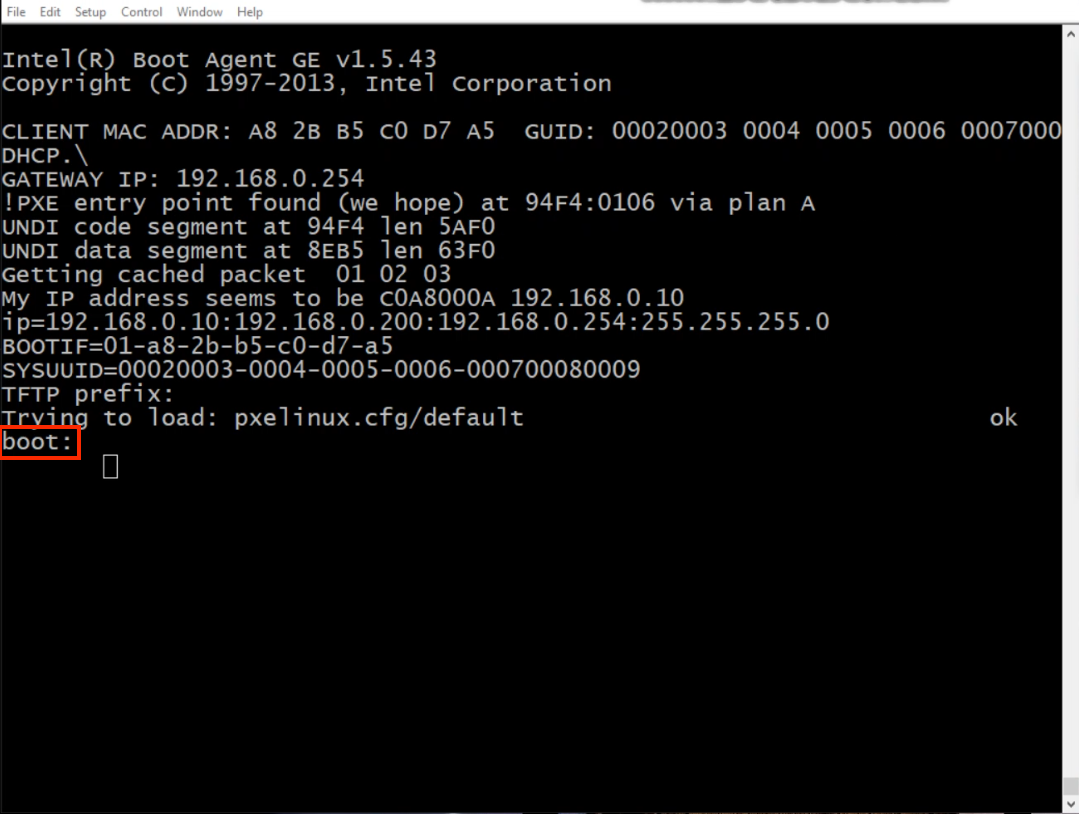
STEP14. After reboot, the system will start to request the IP.
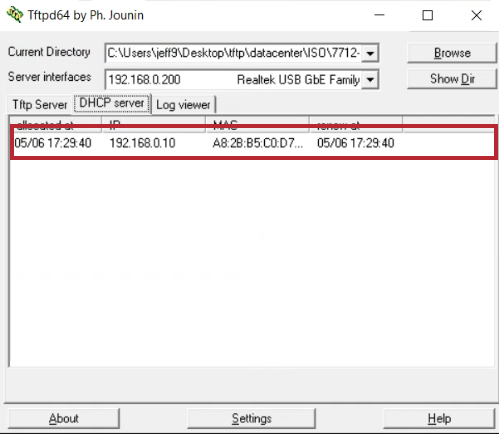
STEP15. The system gets the IP and tries to load the pxelinux.cfg/default.
Note: please press Enter when you see "boot:".
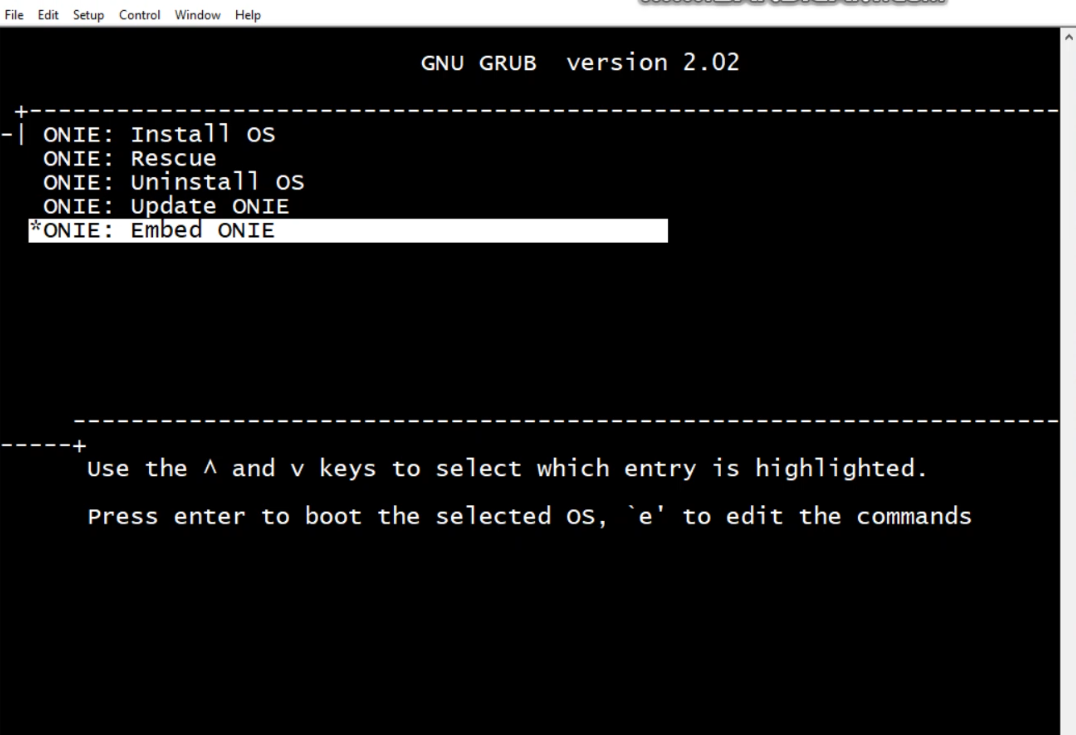
STEP16. Select "ONIE: Embed ONIE" and the recover ONIE progress will be started.

STEP17. The system will look for the updater in the process, so need to rename the file name as mentioned above.
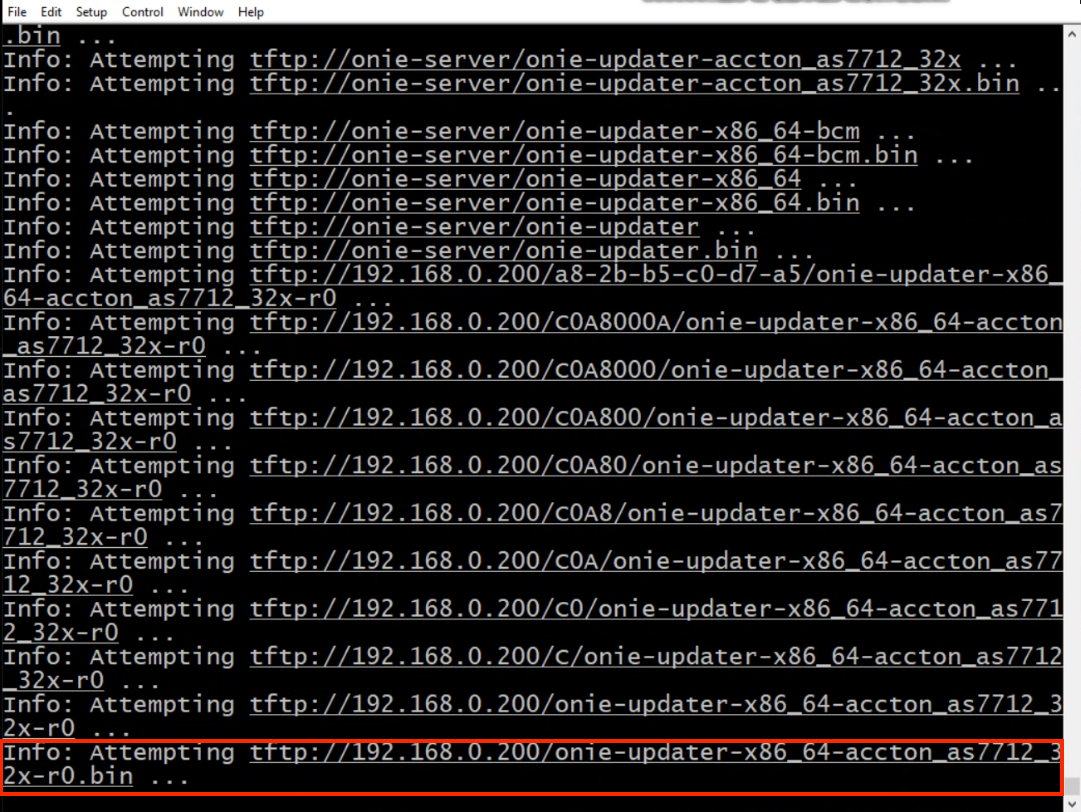
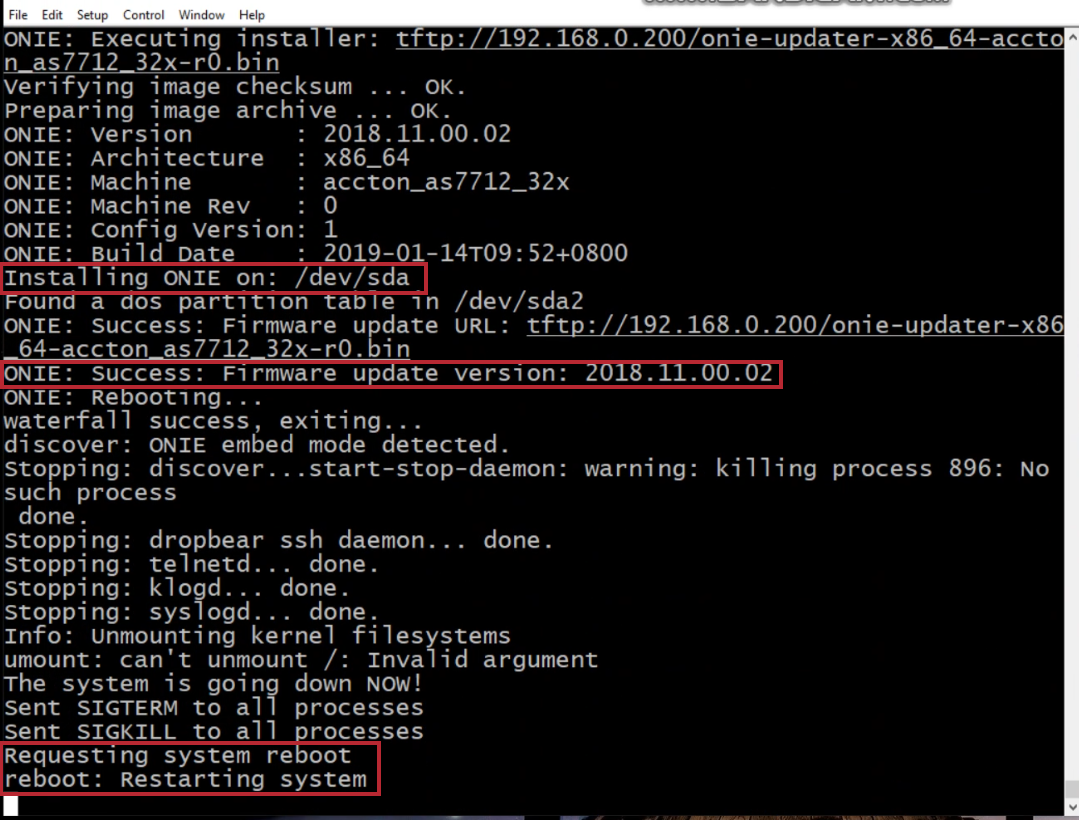
STEP18. When seeing the onie-updater has been upload, the recovery procedure will complete soon.
STEP19. The system will reboot after recovering the ONIE.
STEP20. Please follow the STEP5 to go into BIOS again.
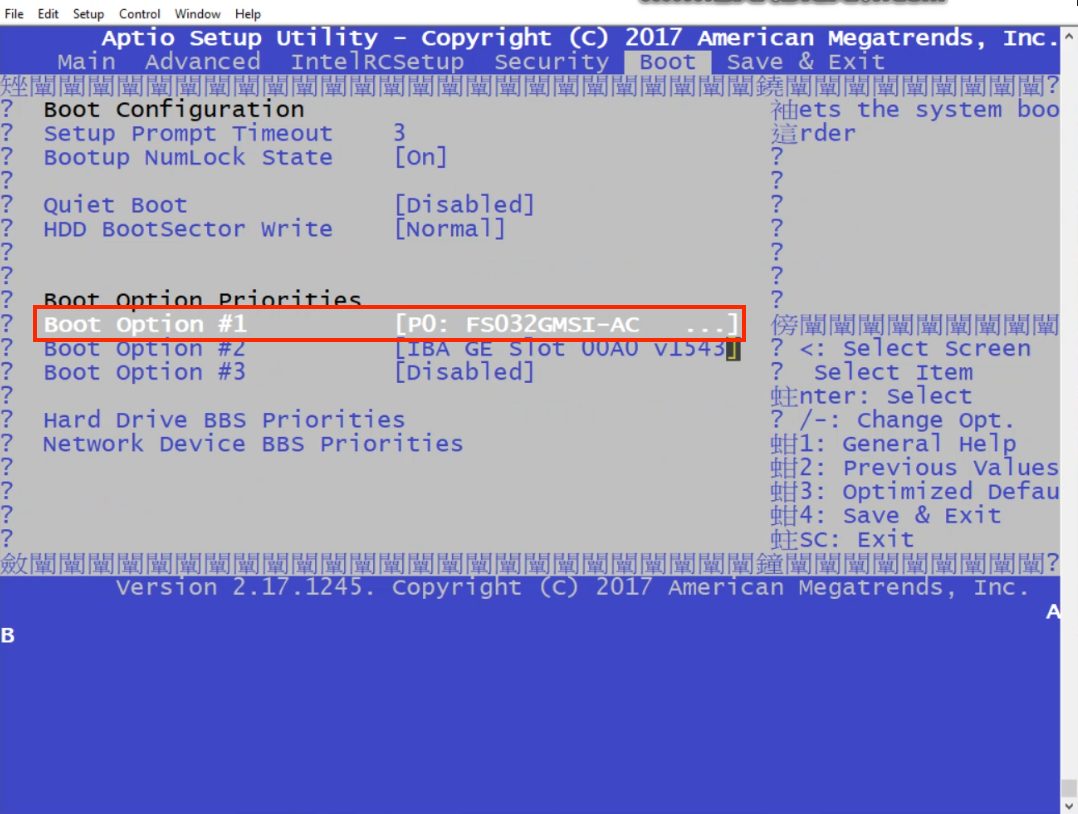
STEP21. Select "Boot" section and change the "P0:FS032GMSI_AC" as boot option #1.
Note. Our switch has two kinds of storage drives, eUSB or mSATA. Therefore, your switch's FLASH model name might be different with the following picture.
STEP22. Please follow STEP10 again.
STEP23. The ONIE is recovered.
Prev Page [ONIE] How to recover ONIE on x86 platform switch via USB?
Next Page [ONIE] How to upgrade ONIE on x86 platform switch?